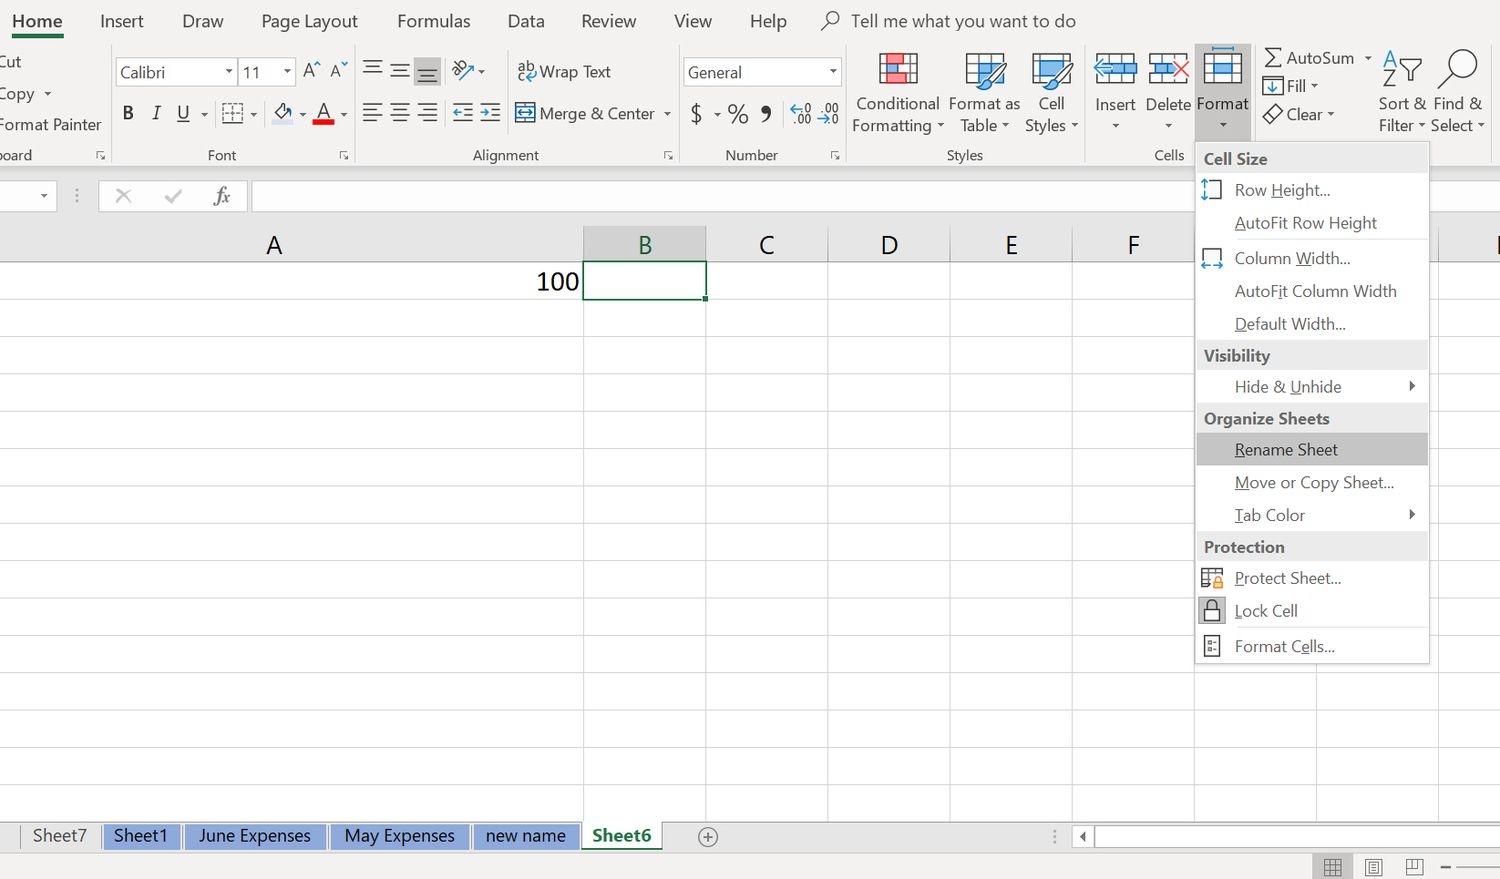
Excel is a powerful tool for organizing data and creating spreadsheets. One feature that many users find helpful is the ability to rename worksheets within a workbook. Renaming worksheets can help you better organize your data and make it easier to navigate through your workbook. In this article, we will explore how to rename worksheets in Excel.
To rename a worksheet in Excel, simply right-click on the worksheet tab at the bottom of the Excel window. A menu will appear with several options, including “Rename.” Click on the “Rename” option, and a text box will appear over the worksheet tab. You can now type in the new name for the worksheet and press Enter to save the changes.
Alternatively, you can also rename a worksheet by double-clicking on the worksheet tab. This will also bring up the text box where you can enter the new name for the worksheet. Once you have entered the new name, press Enter to save the changes.
If you prefer using the keyboard, you can also rename a worksheet by selecting the worksheet tab and then pressing the “Alt” key followed by the letter “H” and then “O.” This will bring up the “Rename” option, and you can enter the new name for the worksheet using the keyboard.
It is important to choose descriptive and meaningful names when renaming worksheets in Excel. This will make it easier for you and others to understand the purpose of each worksheet and navigate through the workbook more efficiently. Avoid using generic names like “Sheet1” or “Sheet2” and instead use names that reflect the content or purpose of the worksheet.
In conclusion, renaming worksheets in Excel is a simple yet useful feature that can help you better organize your data and improve the overall usability of your workbooks. By following the steps outlined in this article, you can easily rename worksheets and create a more efficient and user-friendly spreadsheet. So next time you are working in Excel, take a moment to rename your worksheets and see the difference it can make in your productivity.
